Chapter 2 - 3D
Related links: source, asset host, demo
Introduction: Diane
As the "bridge" connecting Carlos's art to Edie's Web frontend, Diane's first priority in architecting the 3D Vaporwear experience was to establish the "contract" with both of her colleagues: she worked with Carlos to figure out what features the art would provide that her 3D experience would need to consume, and she talked to Edie about what APIs the frontend would want to consume that her 3D experience would need to provide. Her conversations with Carlos were described in a prior chapter; and as for Edie, she summed up her requirements by saying, "I'm not an expert in 3D, and I shouldn't have to be in order to integrate your experience. I can consume any Web-like API you make, but I don't need to know anything about how you made it."
So Diane's goal was to take the features supplied by Carlos in the art, add interactivity, then encapsulate the entire experience into a package that could be consumed without requiring knowledge of 3D art or programming. To do this, she decided to build her experience using Babylon's Template Repository Workflow so that her experience would be automatically structured as an NPM package, which in turn would make it easy for Edie to add it to her frontend later.
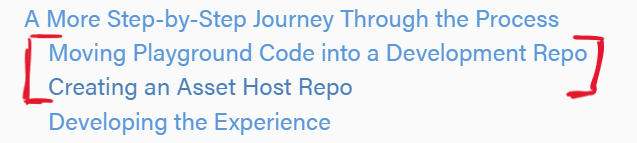
Setting Up the Repositories
Diane modeled her project development structure on that of the game Fruit Fallin', as both projects sought to encapsulate a Babylon experience into an NPM package for consumption in a separate "shipping vehicle."
-
Thus, she began by creating an NPM package repo and an asset host repo as described in the first and second sections of the Fruit Fallin' Dev Story (though she didn't have a Playground to migrate, so her process for creating the NPM package repo differed from the Fruit Fallin' approach similarly to how the Showroom Camera repo had differed.)
-
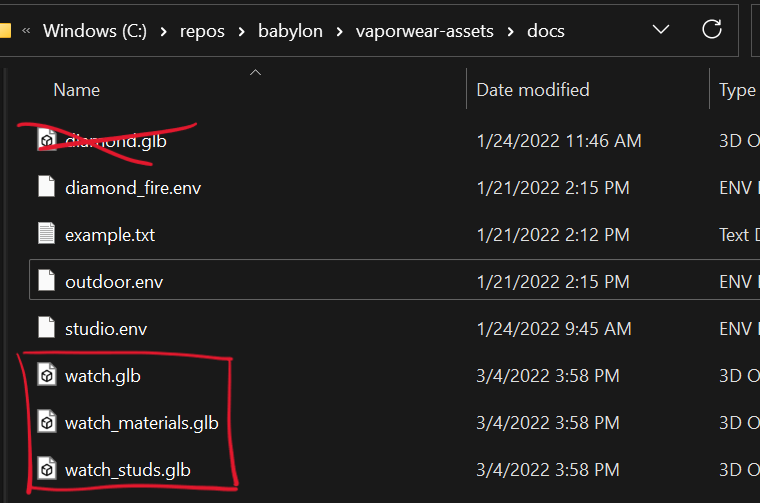
She added Carlos's art assets to her asset host repo as soon as those were available.
-
Normally at this point Diane would have tried compressing the file sizes of the 3D assets using dev-facing tools like gltfpack to leverage technologies like KTX2 and Draco compression. In this particular case, however, that wouldn't have helped. Carlos's art was already very geometry-light (and included specific node structures that mesh optimization might not respect), making Draco compression not a major factor, and the heavy use of detailed normal maps in the materials would play to KTX2's weaknesses. She was glad she was familiar with these tools, but for this particular scenario she decided not to use them.
-
Diane chose to use her NPM package repo's
test_packageas a test environment that would later double as a demo page (similar totest_package's use in both Fruit Fallin' and Showroom Camera). Because the 3D Vaporwear experience was supposed to occupy the full Web page (with elements sometimes overlaid) in the final site, Diane changed hertest_package's index.js to more closely resemble that usage.
With the repos now set up, work could begin on the real features of the Vaporwear 3D experience.
Note: Because Dev Stories are not intended to be coding tutorials, the following sections gloss over implementation details in order to move at a very fast pace. For specific information on how any particular feature was done, the implementation can be inspected directly in the code, and specific questions are always very welcome on the forum.
Implementing the Watch
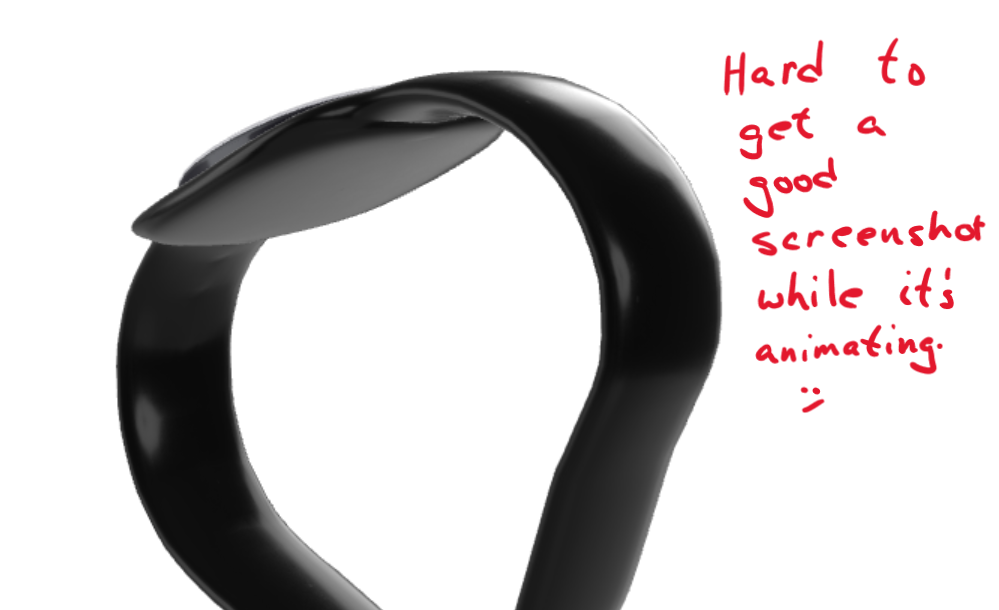
The most important part of the Vaporwear 3D experience (which was part of an e-commerce site for selling watches) was, of course, the model of the watch itself. Thus, the first thing Diane chose to tackle as soon as she had the watch model was getting that imported and viewable.
-
The first step to getting the watch to display was to download it.

-
When Babylon imports a glTF that includes animations, it automatically starts playing the first animation it finds. Since Diane knew she would eventually need to use all the animations, she went ahead and cached references to all of them and ensured they started in the correct state.
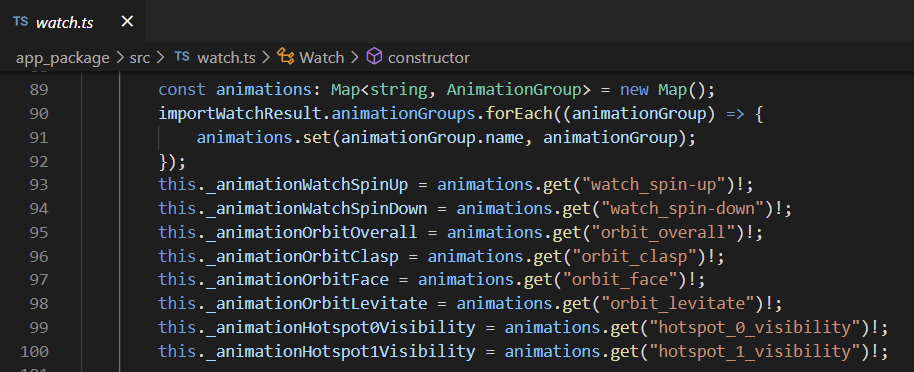
Carlos had provided her with the names of the animations along with the rest of the details when he delivered the art; however, she could also see and test them by dragging the GLBs into Babylon's 3D Commerce-certified sandbox.
-
To avoid having to worry about the camera until later, Diane just used an
ArcRotateCamerato start with. With that and a few more minor tweaks to the scene such as setting the clear color to white, Diane had the most basic version of the watch rendering.
-
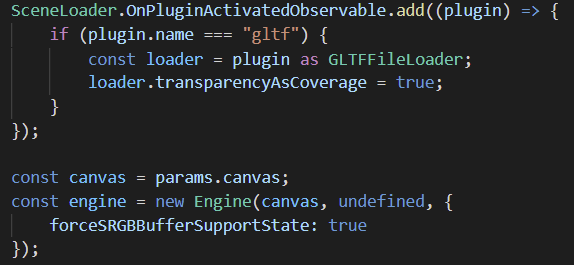
But this wasn't, however, rendering using the 3D Commerce-certified settings. To fix this, Diane just needed to add the two code snippets described on the Babylon docs.
-
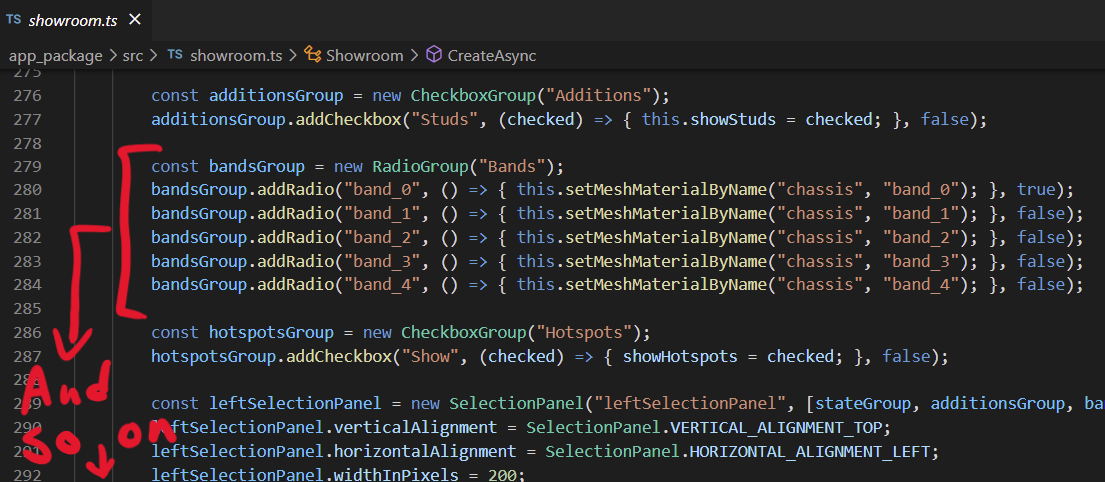
With the watch now rendering in its default state, the next step was to enable other states. The Vaporwear site's design called for the 3D experience to have five different behaviors in different parts of the site, so Diane formalized this notion as an enum of states, with the
Showroom(the main logical container of the experience) changing the behavior of the watch (activating the correct animations, etc.) when the state changed.
-
To be able to test this behavior, Diane added a
createDebugUIfunction to theShowroomthat would allow the app to be controlled using a Babylon GUI interface.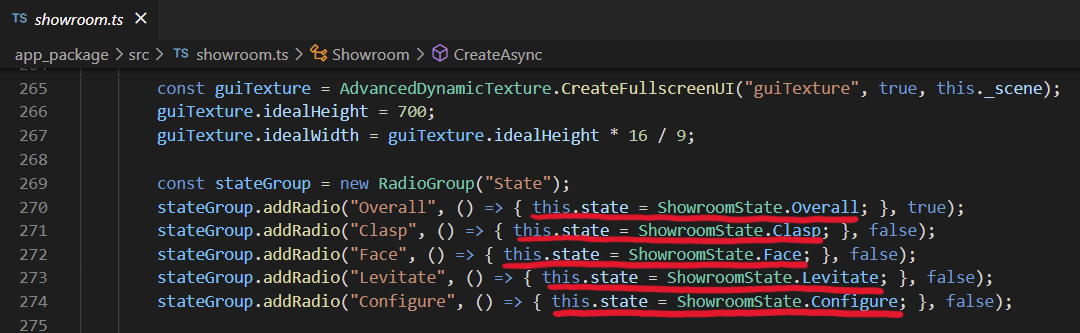
-
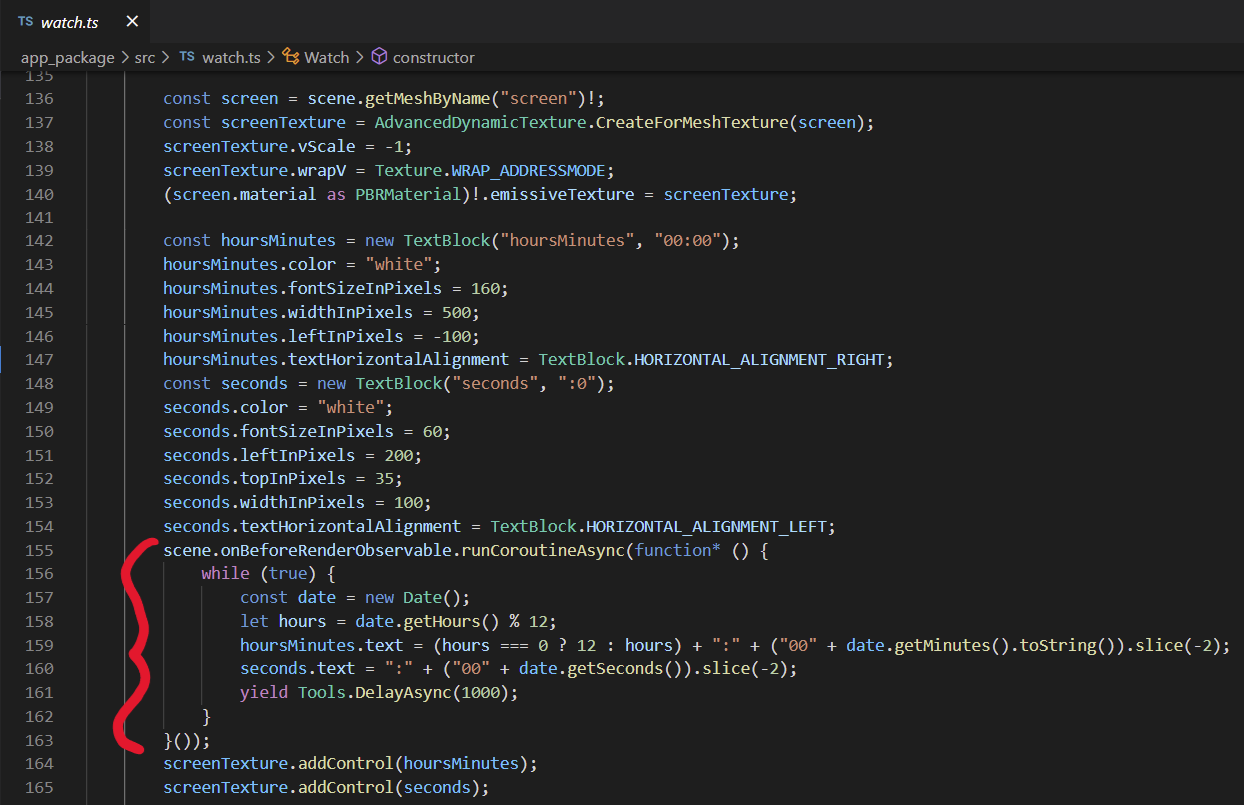
Finally, Diane added the dynamic watch face using Babylon's GUI and a simple coroutine mechanism to update the text.
At this point, Diane had the watch rendering the way it should (sans camera movement) using only what was available in the main asset file provided by Carlos. To use the other two files -- the "studs" file and the "materials" file -- the next step was to enable configuration.
Enabling Configuration
The trickiest part about configuration for the Vaporwear 3D experience was loading the assets. Carlos had warned Diane that the materials file in particular would be large, and by 3D art standards 15 megabytes wasn't that large, but it still required some care and finesse to load such a large asset without either causing major performance problems or requiring a loading screen. In the end, Diane settled on a two-step trick to load the configuration assets, after which enabling their use was pretty straightforward.
-
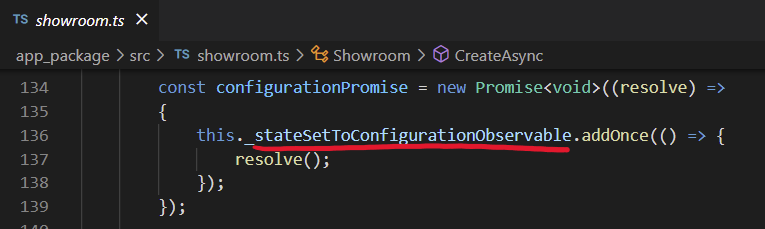
The first part of Diane's loading trick was to delay loading the configuration assets until the experience first entered its "Configuration" state. Because Carlos had built the main asset to be self-sufficient, the experience didn't actually need the configuration assets until the point of configuration. However, loading those assets into the Babylon scene could still cause noticeable performance problems (mainly framerate drops or "hitches"), so Diane had to choose carefully when to load so that such "hitches" wouldn't be so noticeable. A quirk of the Vaporwear experience design was that in 4 out of 5 states (every state except configuration) the camera was always moving, so any framerate problems would be very visible. Consequently, Diane didn't want to do the actual loading until the first time in the experience that the camera held still, which would be as the experience was first entering the "Configuration" state in which the user would control the camera. Because the camera wouldn't be moving on its own, framerate "hitching" shouldn't be nearly as obvious or problematic as it would be at any other time in the experience. Thus, to hide the "hitches" from the loading, Diane introduced a mechanism that would make loading the configuration assets the final step of entering the "Configuration" state for the first time.
-
However, the side effect of this approach was that entering the "Configuration" state for the first time would be slightly delayed; and while this was better than a visible framerate drop, Diane still wanted to make this delay as short as possible. This led to the second part of her two-step trick for loading the configuration assets: pre-fetching them using the JavaScript
fetchmethod. This would not actually make the downloaded assets available to Babylon directly as it would not invoke any Babylon APIs. However, it would cause the browser to go ahead and download the files and store them in the cache; that way, when Babylon later made Web requests for those same (15 Mb, in some cases) files, such requests would be 15 Mb cache hits instead of 15 Mb network downloads.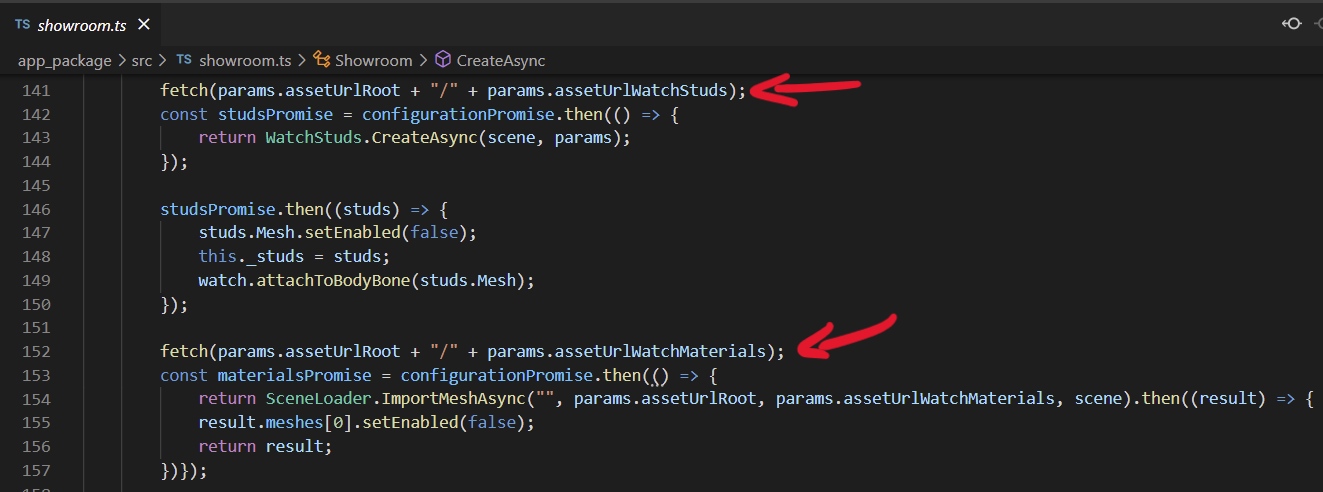
-
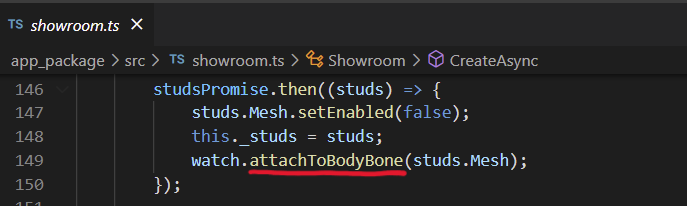
Other than loading, the only slightly complex part of enabling configuration was making sure the imported "studs" mesh was attached to the correct bone. After consulting Carlos (who had helpfully named the correct bone, "Bone"), Diane simply had her watch abstraction cache off a reference to that bone...

...and provide an easy way to attach the "studs" to it.
-
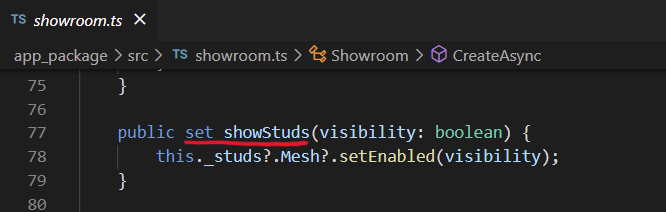
With all the assets loaded and set up as required, enabling configuration was simply a matter of enabling/disabling the "studs" geometry...
-
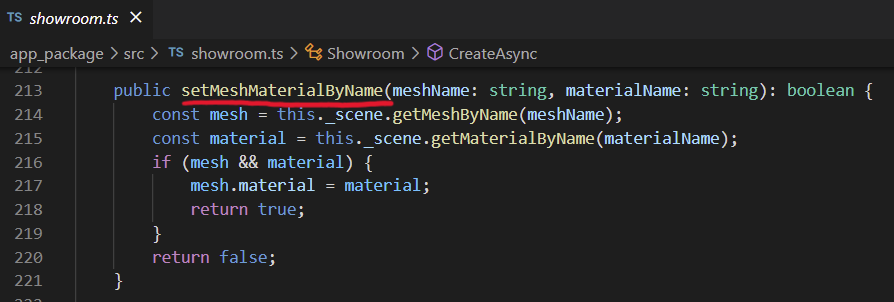
...and setting named materials on named meshes, which Diane chose to expose as a simple helper function that wouldn't really need to be extended if more materials were added later.
-
Finally, Diane added GUI elements to the test UI to allow her to test the new configuration options.
Implementing the Camera
The last feature needed to complete the Vaporwear 3D experience was the camera. Most of the complexity of the camera's behavior was built into the Showroom Camera Babylon Utility, and the details of controlling the camera were already built into the main asset file from Carlos. All that really remained was to hook up the pieces, but that was still a process with a few steps.
-
First, Diane needed to add the Showroom Camera Babylon Utility as an NPM dependency so that she could use it.

-
She then replaced the
ArcRotateCamerashe'd been using temporarily with aShowroomCamera. Giving that camera a single arc-rotate state would cause it to behave exactly like anArcRotateCamera.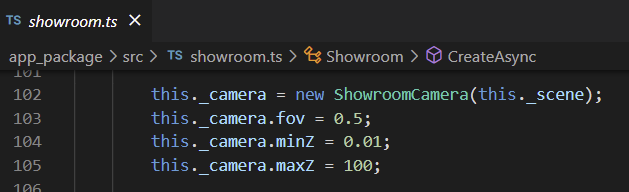
-
To get the full and correct camera behavior, however, Diane needed to create camera states for every different behavior. Since there were five different camera behaviors in the experience, she needed five different states: four matchmoving specific
TransformNodes from the main watch asset, then one arc-rotate state using the starting positions from the "overall" matchmoving state.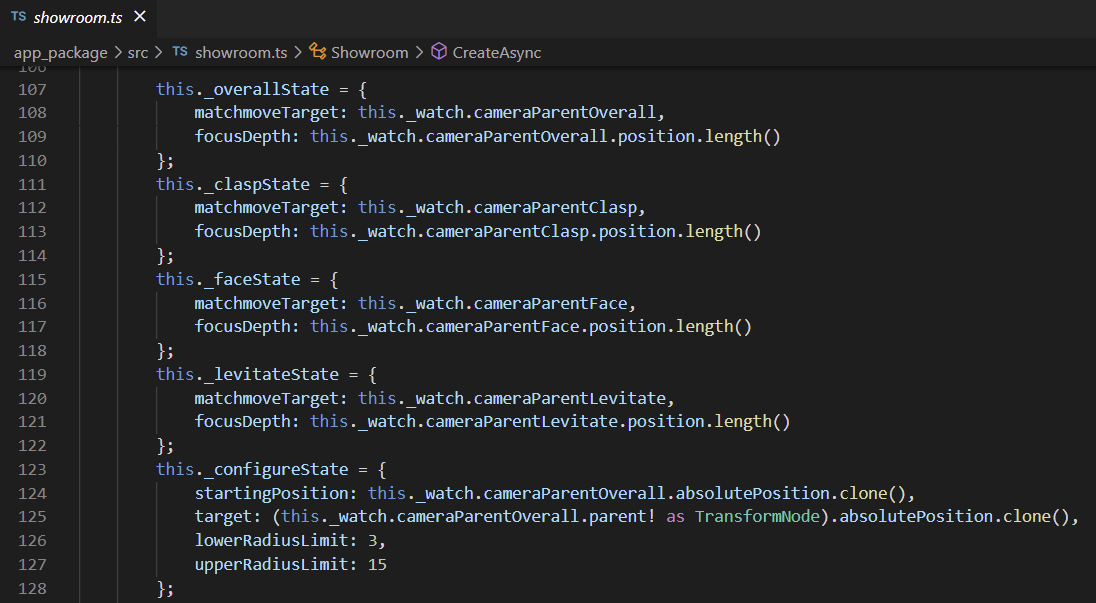
This is what Diane tried out of the box, and it immediately...didn't work the way she thought it would. A short amount of debugging later, she discovered that...
-
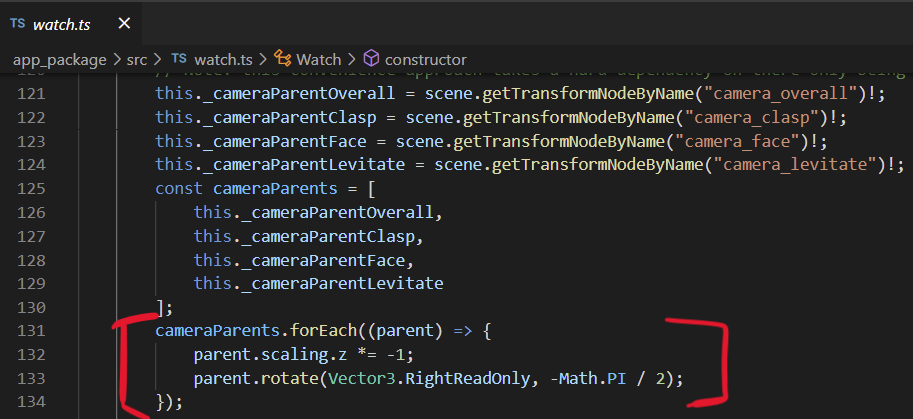
...a nuance of Carlos's art assets is that they had been created in Blender; and while Babylon's cameras by default look in the Z-positive direction, Blender's by default look down Y-negative. Carlos had set up his camera transform nodes to work for the tool he was using, but when cameras were set to follow those same nodes in Babylon, the result was that the cameras faced the wrong direction. This, Diane realized, was just the sort of minor natural hiccup which always occurs when getting two tools to work together. While she considered asking Carlos to change the art to match Babylon's conventions, it seemed illogical for him to do something that didn't make sense in his own tool. Instead, Diane just modified her import logic to modify the camera parents slightly so that they would work with the conventions used by Babylon's cameras.
-
With that fixed, all that was left was to set the camera to transition to the correct state when the Showroom changed states...
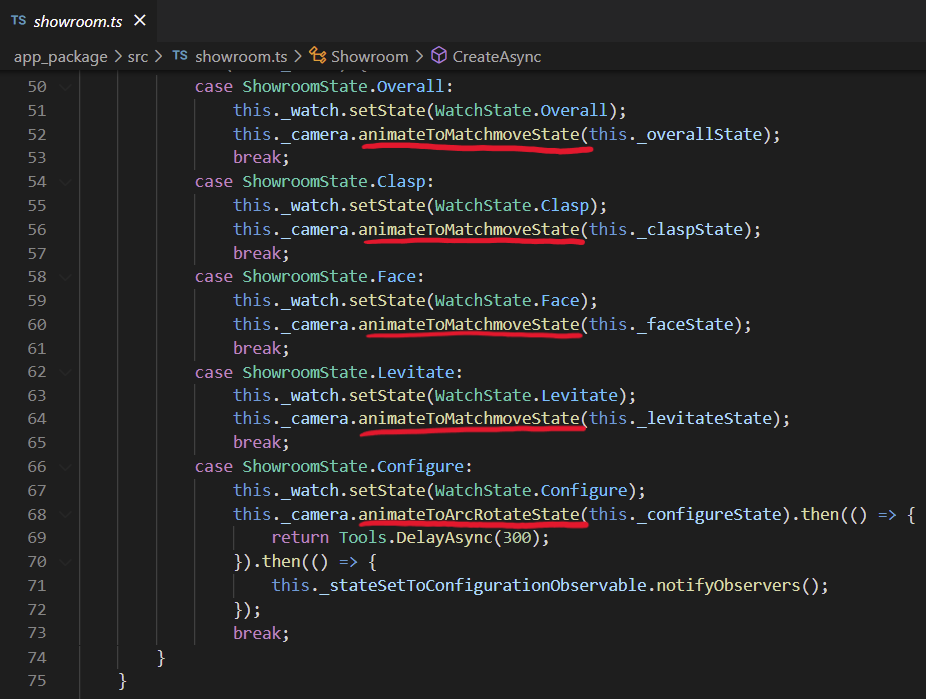
-
...and create a mechanism for tracking and reporting the "hotspot" positions. For the matchmoving state "hotspots," this was simple: reproject the positions of the hotspot
TransformNodes onto the screen and report visibility based on the animation-controlled "hotspot visibility"TransformNode's position:
For the arc-rotate state "hotspot," it was slightly more tricky -- the visibility had to be determined by a dot product thresholded against the "hotspot visibility"
TransformNode's position, as described in the relevant section of Carlos's chapter -- but the math was the same.
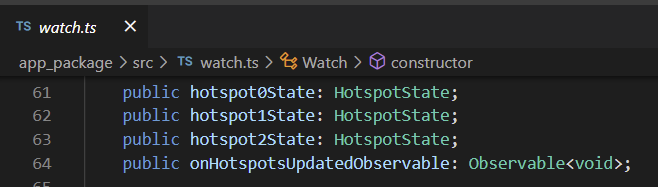
For all three "hotspots," Diane chose to expose the results simply as public state with an observable to inform those interested when the state changed.
And, just like that, the Vaporwear 3D experience was feature-complete.
Encapsulating for Frontend Consumption
At last, it was time to prepare the Vaporwear 3D experience to be handed
off to Edie for integration into the new site. For this, all Diane needed
to do was wrap the 3D experience in a Web-like API that exposed easy ways
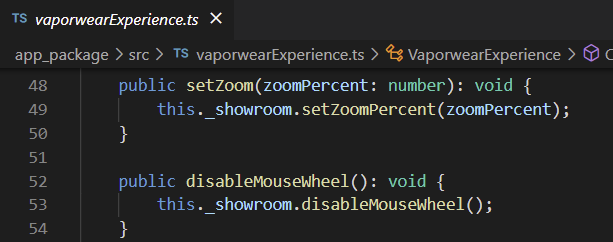
to invoke all the features. She'd already added a vaporwearExperience.ts
file with two functions -- CreateAsync and createDebugUI -- that
she'd been invoking from the test_package site as shown in the
pattern from the Fruit Fallin' Dev Story, so she decided to just
expand on that by adding invocation mechanisms for the rest of the
features.
-
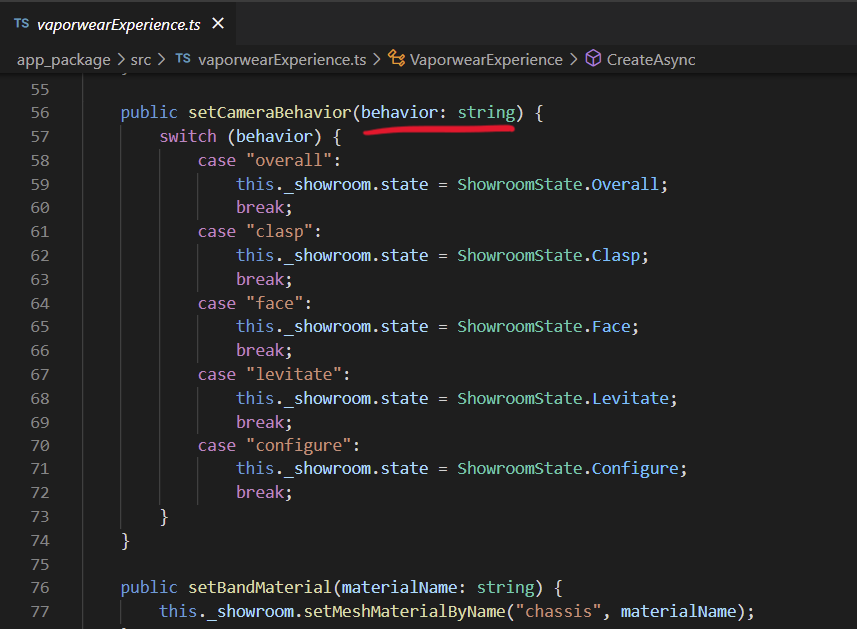
For most features, Diane decided to just make invocation string-based because it was straightforward.
-
For the "hotspots," Diane chose to emulate the
addEventListenerpattern from the DOM. This required some minor adaptation of the way the "hotspot" state was reported internally, but not much, and it also afforded a convenient place to add an event notifying when configuration options were loaded. (Edie requested this second event so that she could hide the configuration options until the required assets were loaded.)
-
Camera parameter settings were actually not a part of the first version of the NPM package Diane delivered to Edie; instead, they were added later upon request because Edie wanted the zoom to be controlled by buttons so that the mouse wheel would remain reserved for scrolling the page.
-
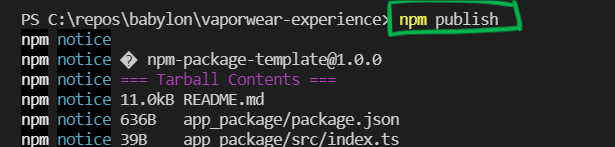
Finally, it was time to make the Vaporwear 3D experience available for Edie to integrate into her frontend. Per Edie's request, Diane did this by publishing the experience as a private NPM package, which would make it easy for Edie to take a dependency on it in her React app.
And with that, Diane's work on the Vaporwear 3D experience was complete. She remained available to answer questions and field requests from Edie while the latter was integrating the new experience; and, as mentioned above, Edie did end up making a few specific requests that Diane added in follow-up versions. The fact that the Vaporwear experience was published as an NPM package made it easy to deal with this update process -- publishing and updating were the same as with any other NPM package -- and before long, Edie was able to share back to Diane and Carlos a link showing the brand new Vaporwear e-commerce site running live.